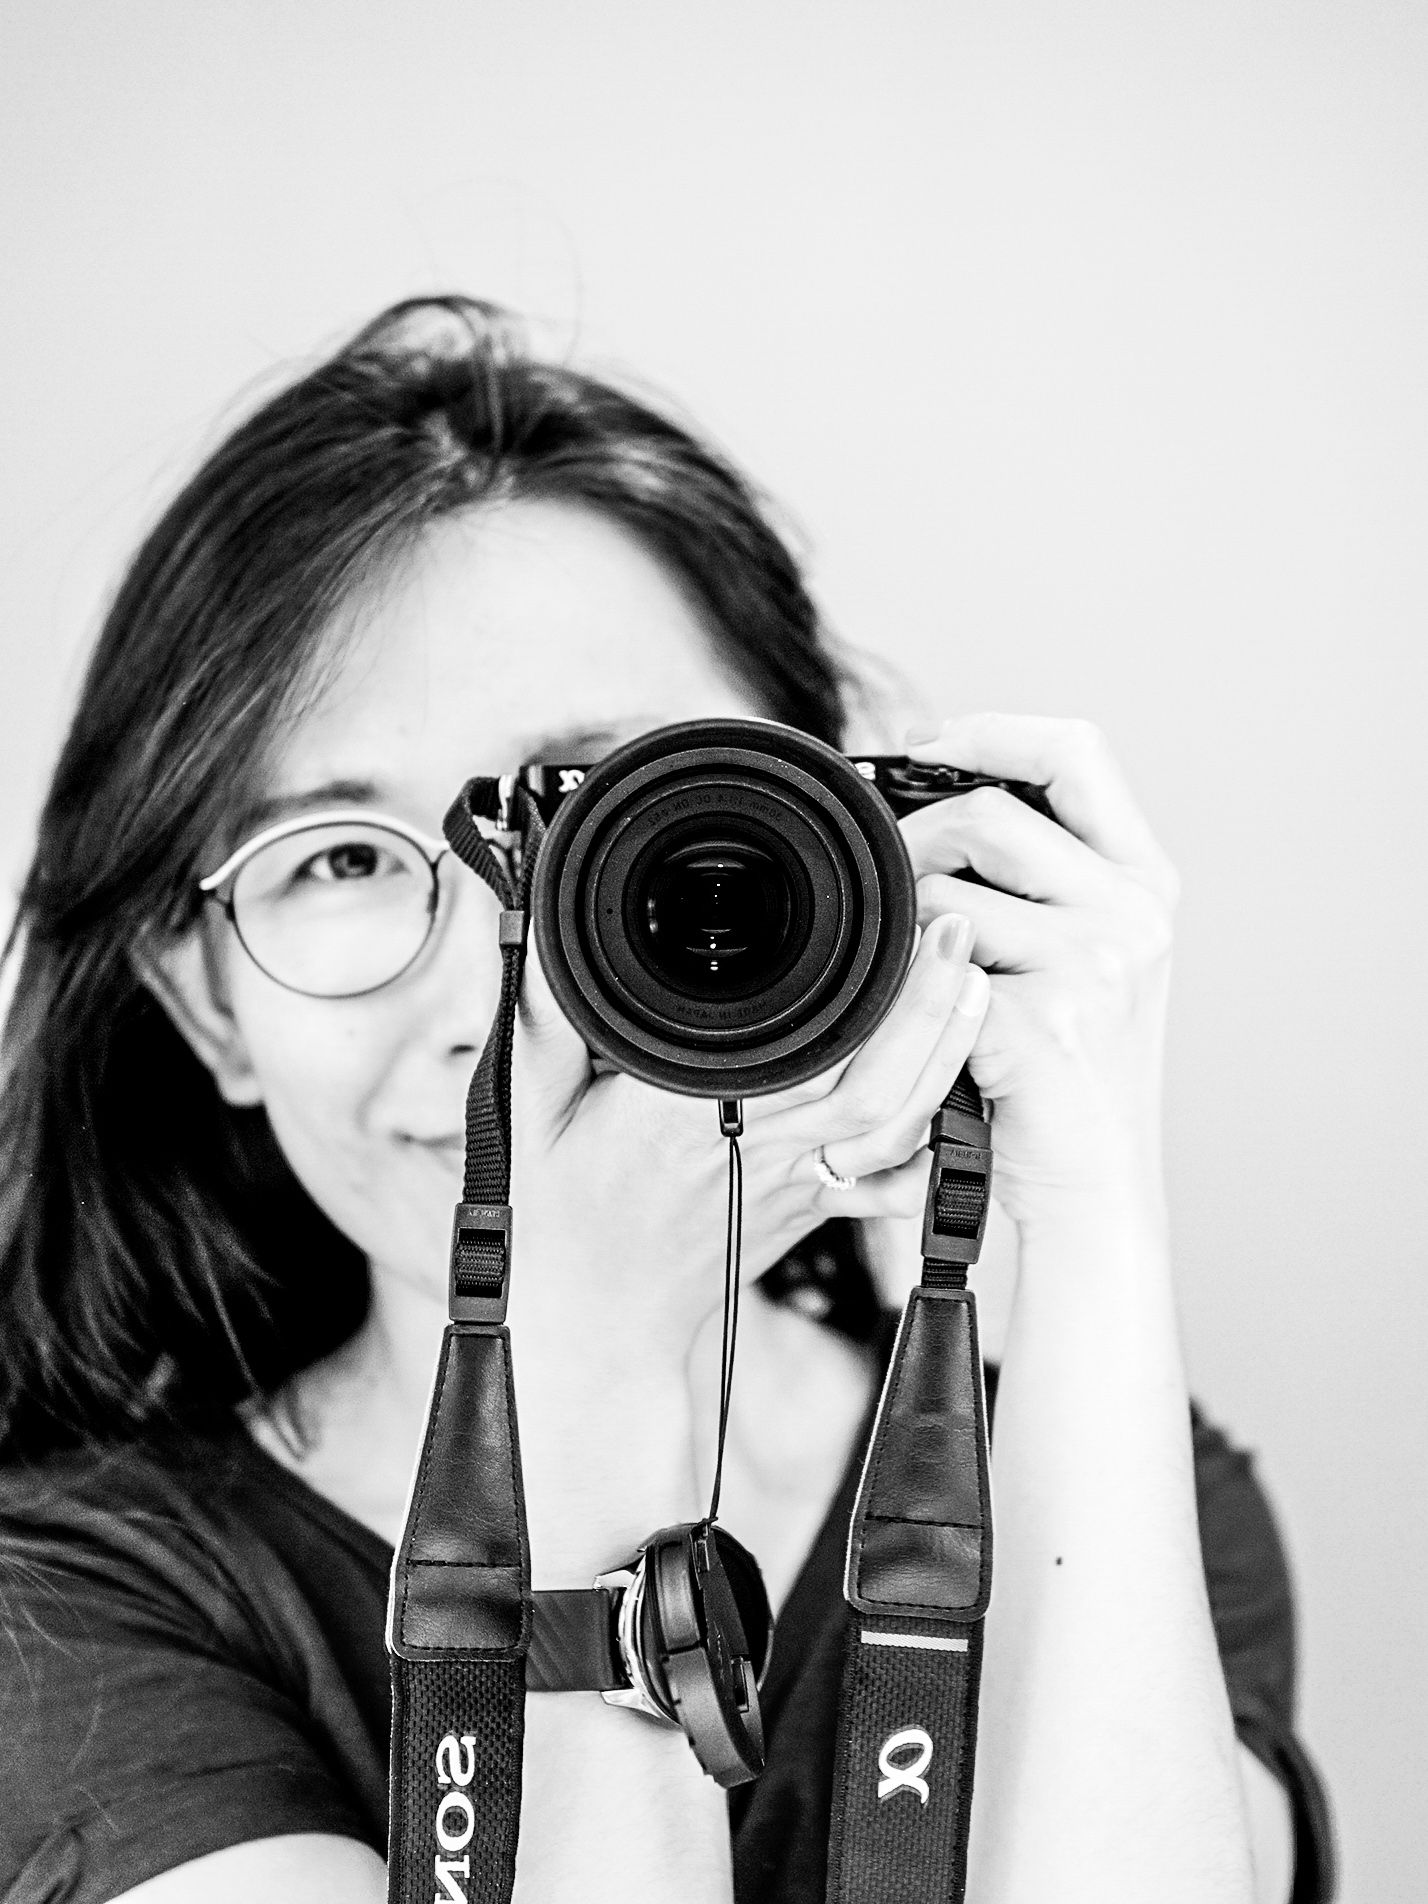
Hi, I'm Ann.
Thank you for choosing me to photograph your family! I am so grateful that you’ve put your trust in me to photograph your family and I am so excited about the beautiful images that you’re going to have soon!
This guide is here to help prepare you before your session so that you can have the most stress-free, relaxed session possible. your family and what you can expect after your session.
If you have any questions, please ask away anytime!

01.
What To Expect
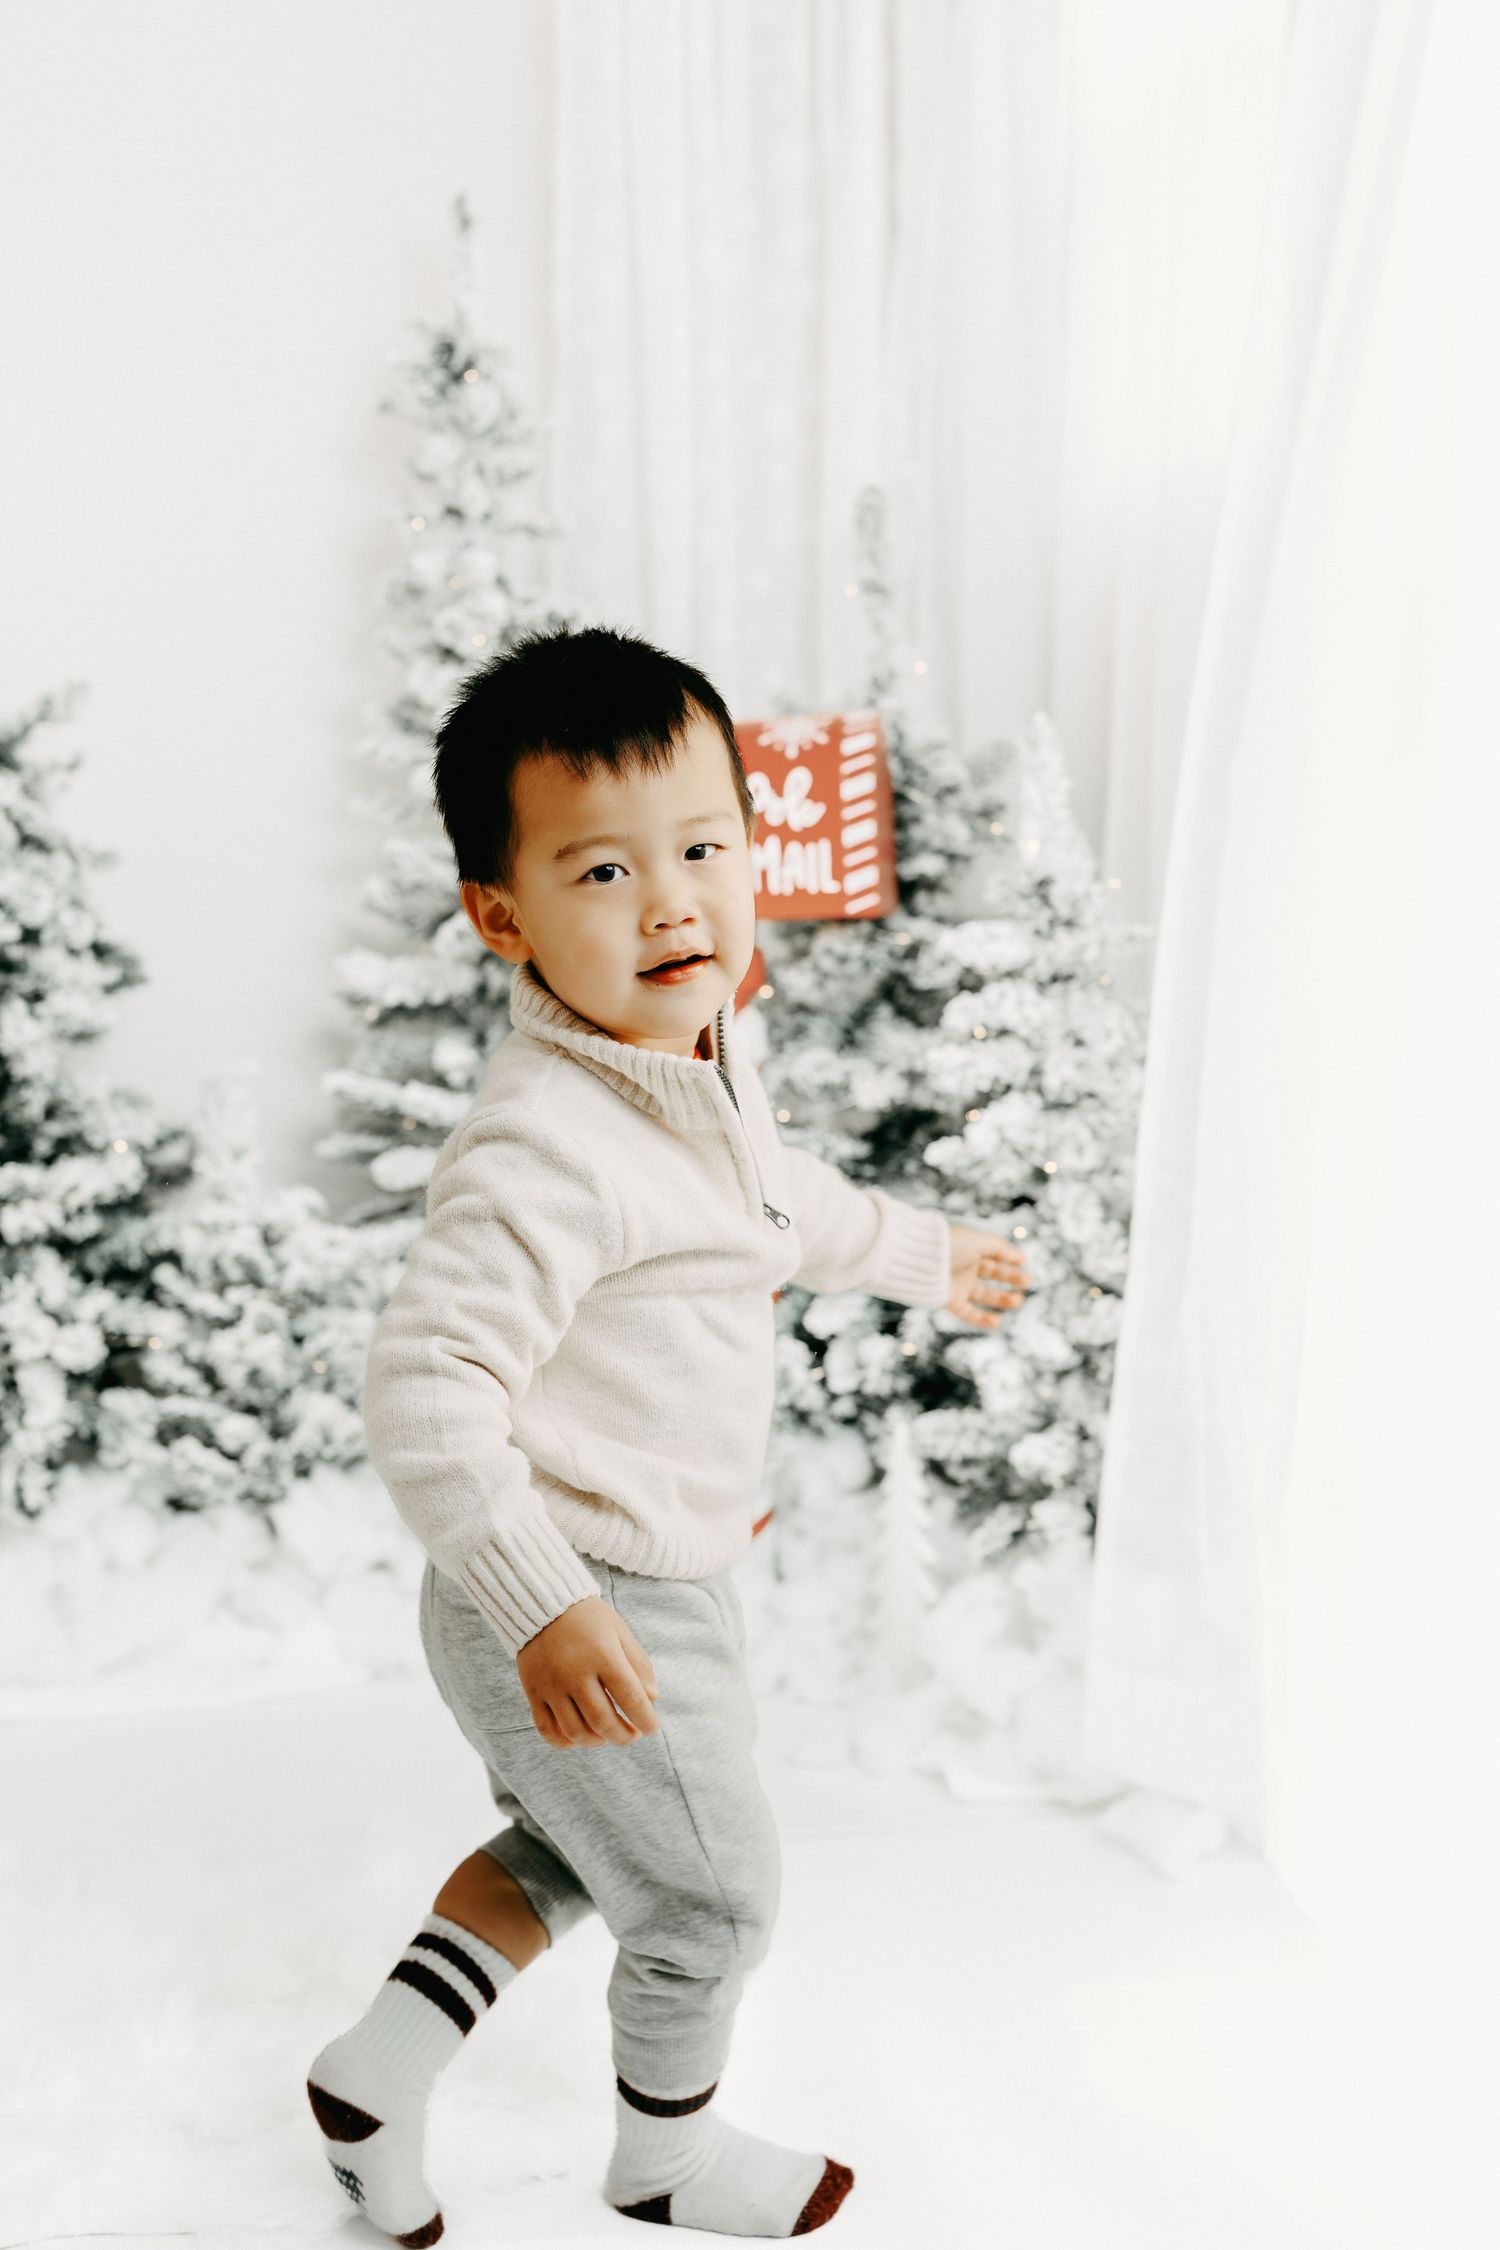
It’s normal to feel a little anxious before your photo session. Rest assured that my goal is for this process to be memorable and fun for your family.
Expect me to give direction and guidance during your session, such as positioning you in the best light, asking you to look at each other etc., but mostly I want to create a space where you are relaxed and connections occur naturally.
Location
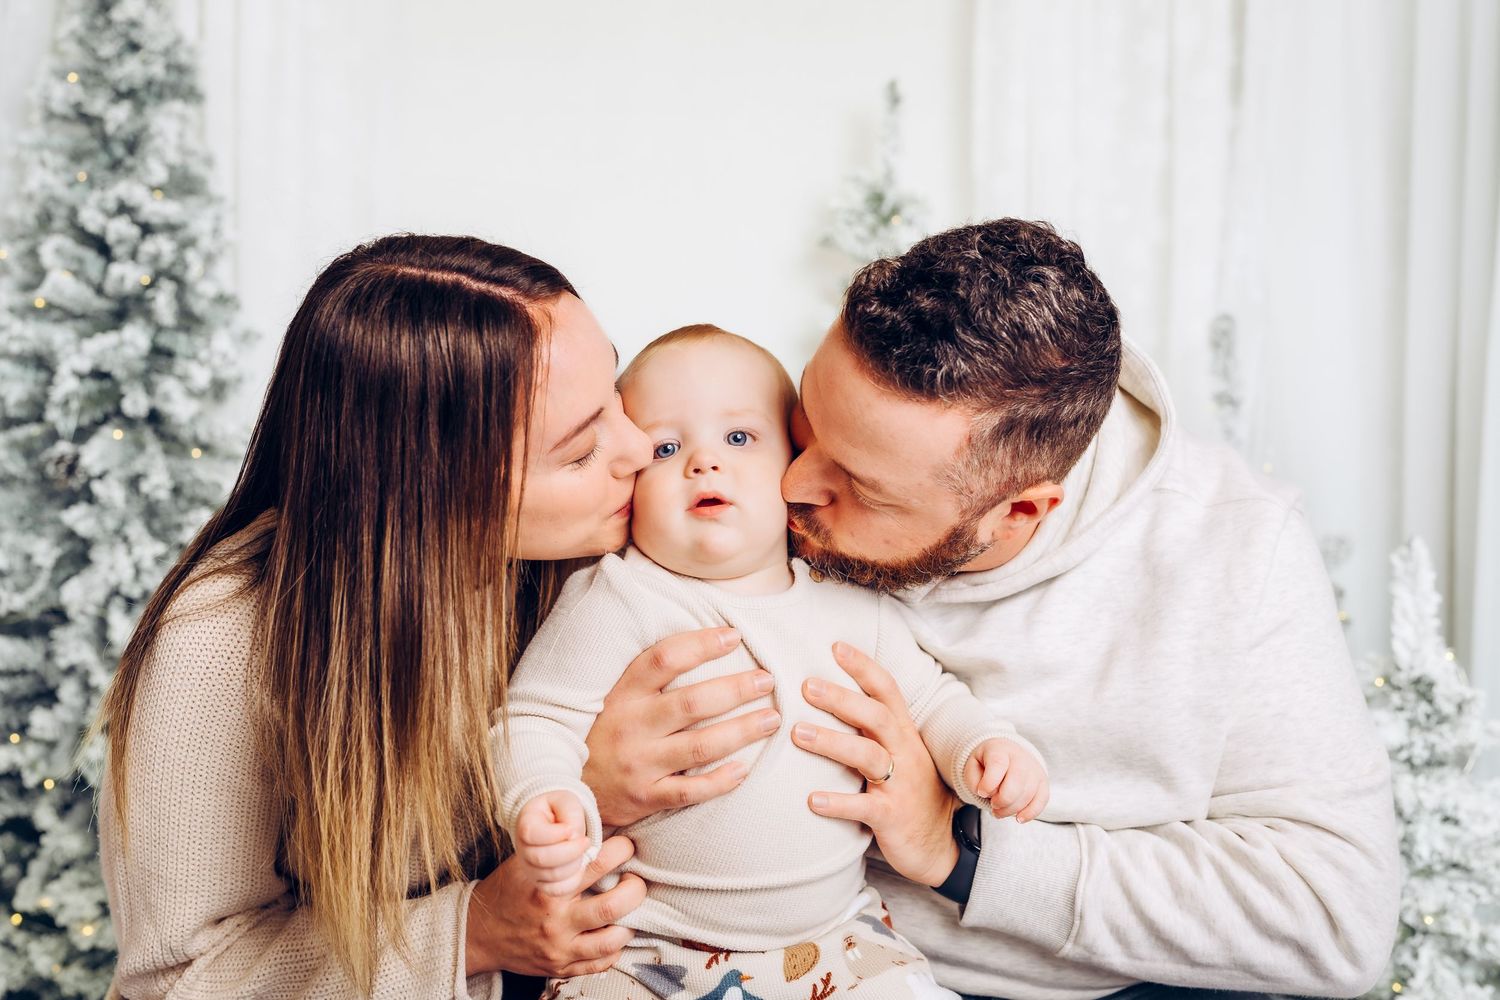
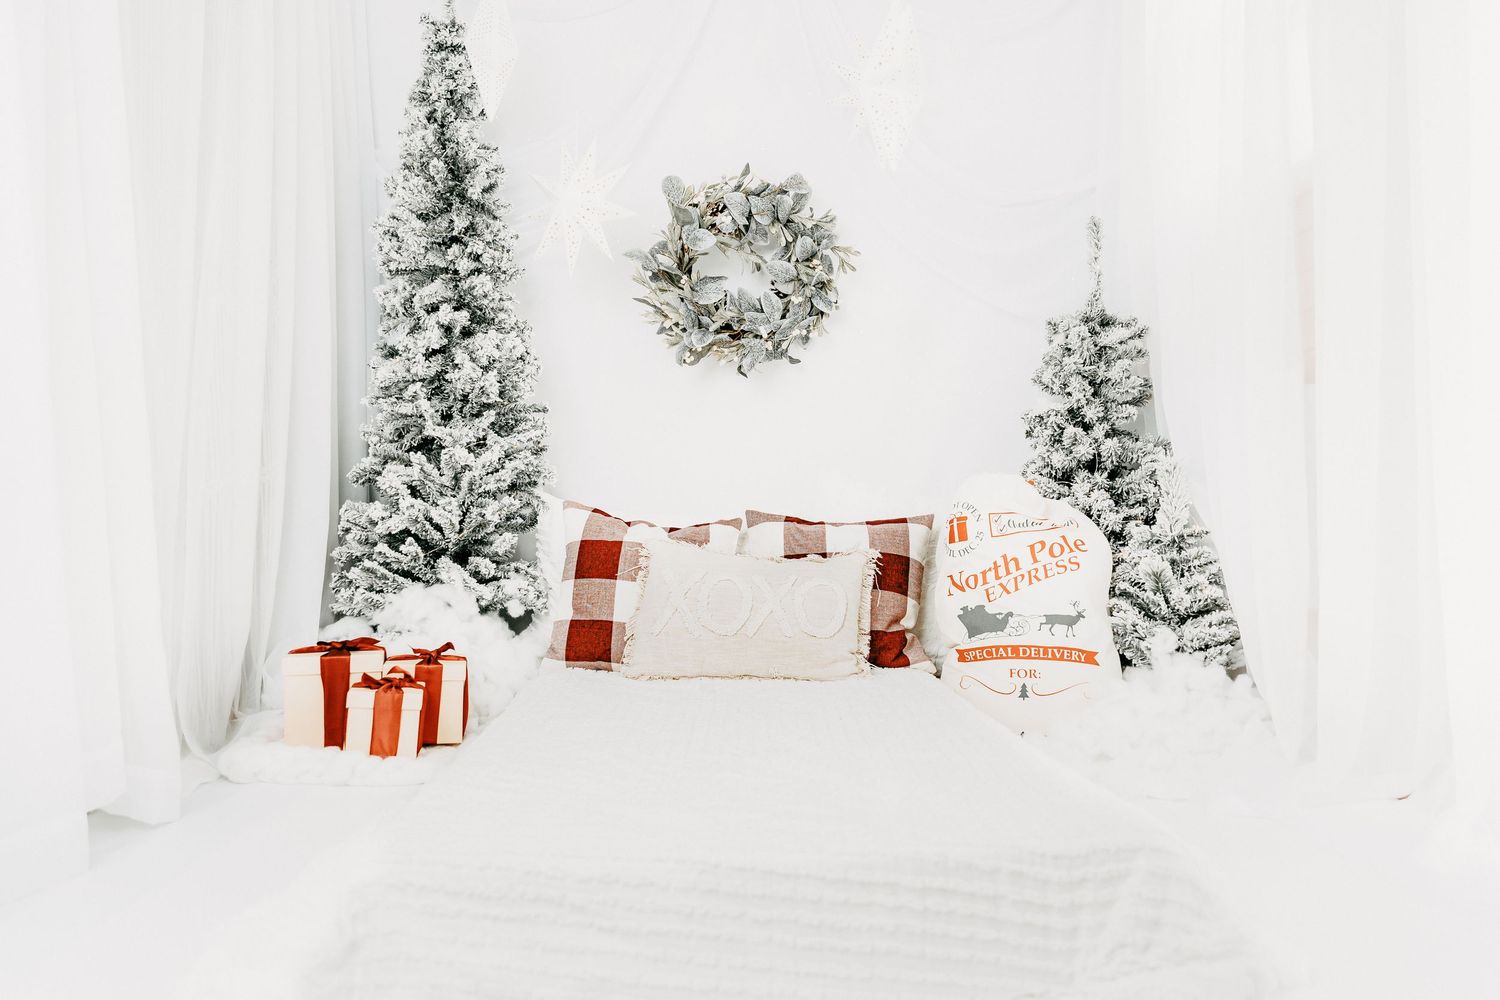
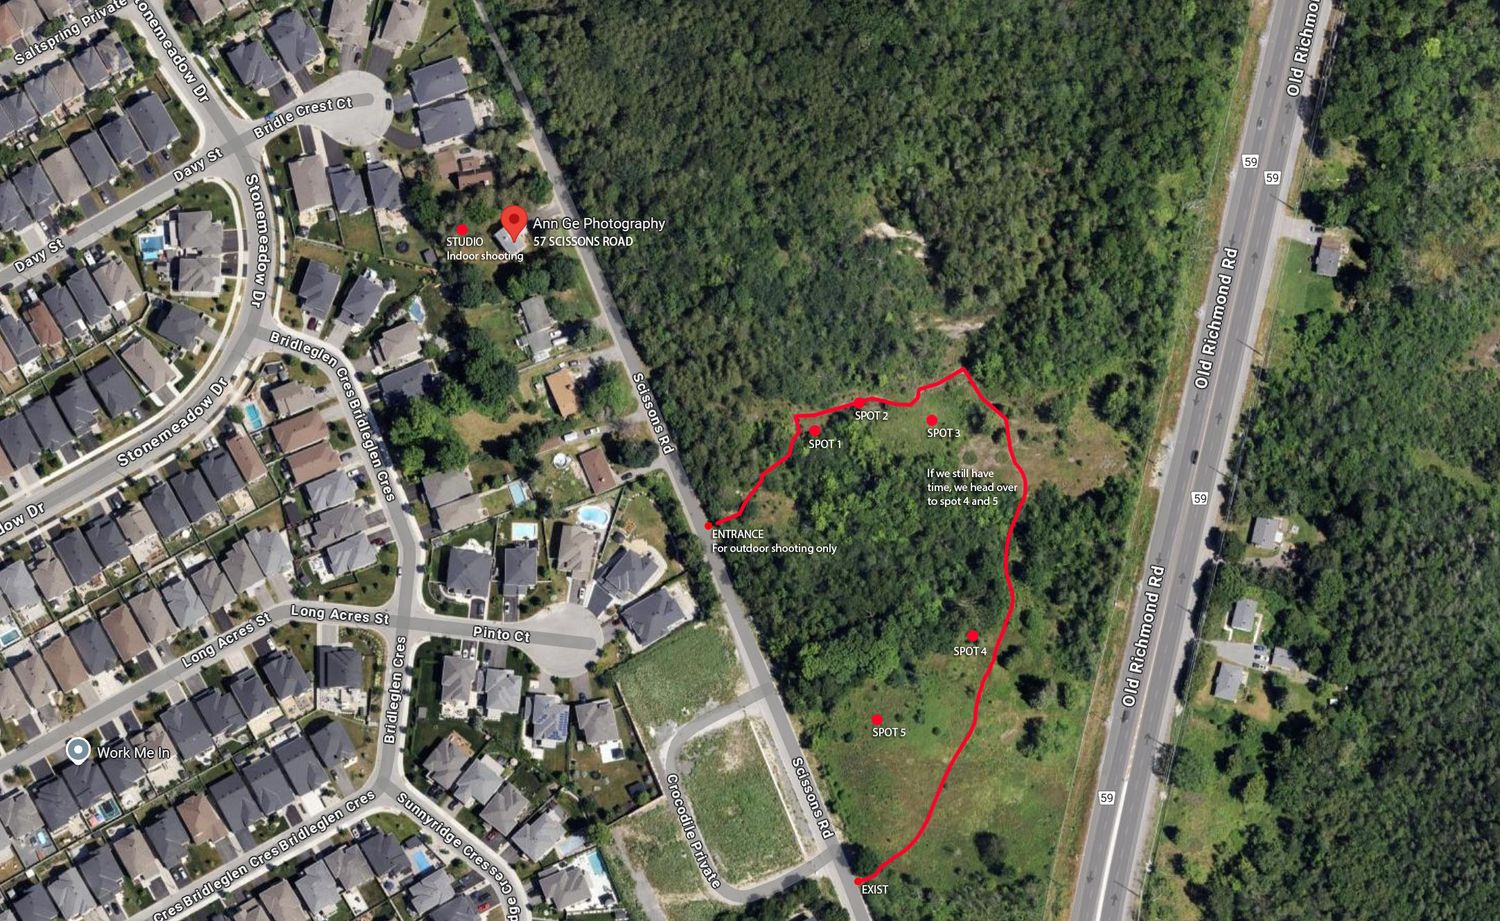
We’ll be shooting your Christmas mini session at my backyard studio located on 57 Scissons Road. See map for location.
Upon arrival, please park on my driveway. Please note that my studio space is cozy and small, so it would be helpful if you only bring essential items inside. There is a small seating area where you can leave your belongings, and shoes should be left outside in the shoe cabinet.
The Setup
Wicker Chair
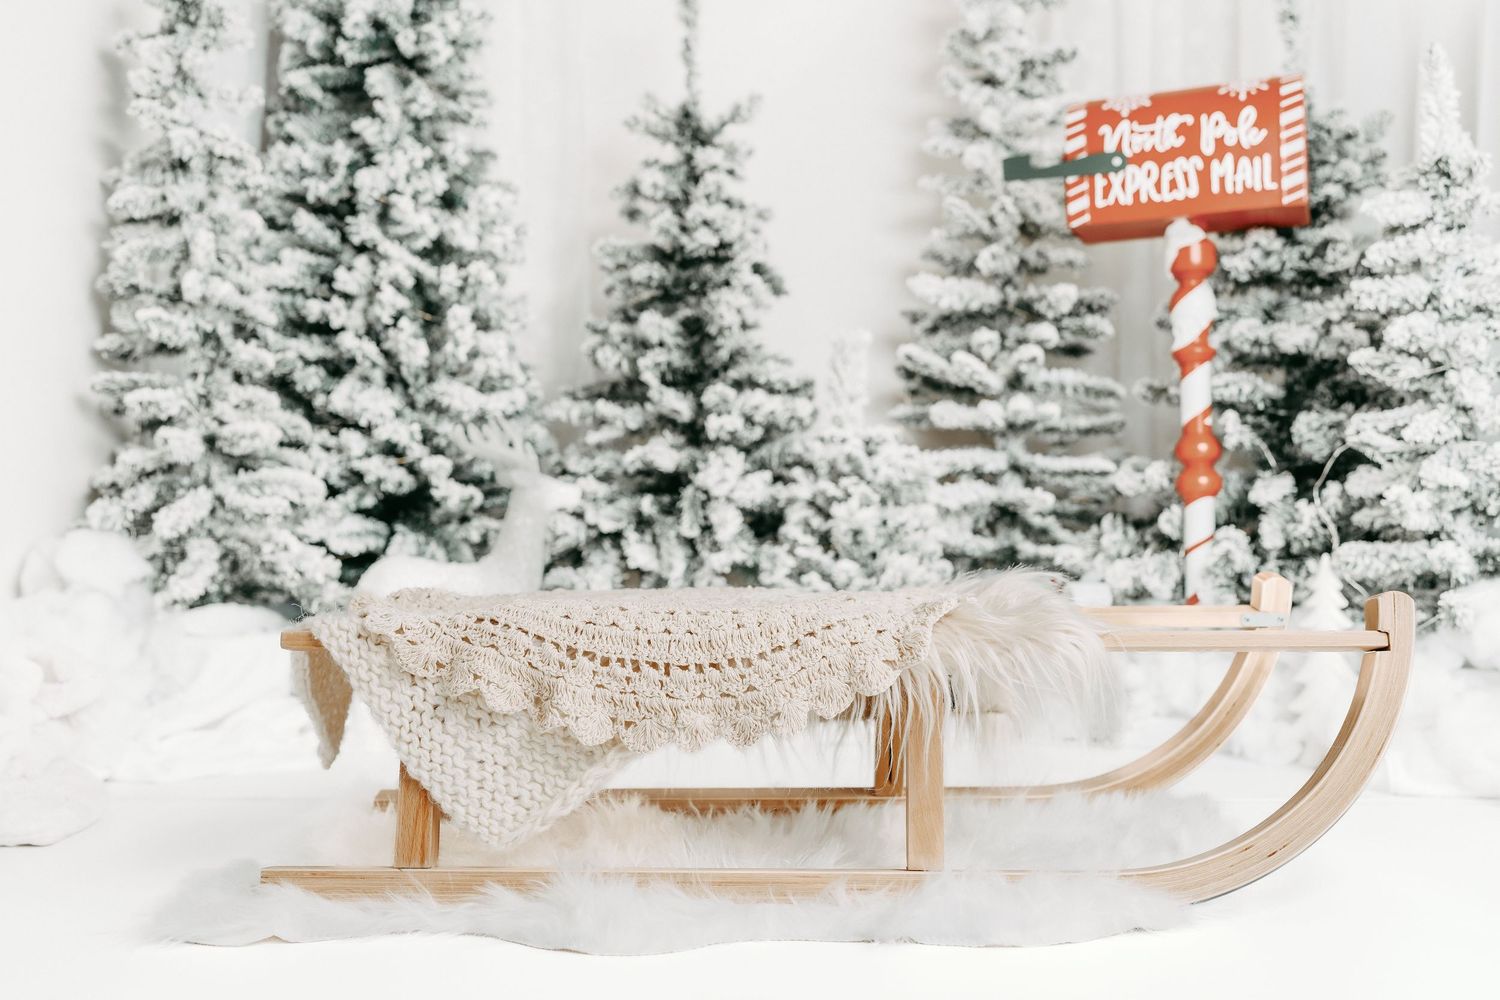
A neutral-colored wooden sled available for up to three children for sibling photos. To enhance the festive vibe, a selection of Christmas hats and headbands will be available for kids and parents. Additionally, artificial cupcake and latte can be used on hand for added fun.
Kid Sled & Props
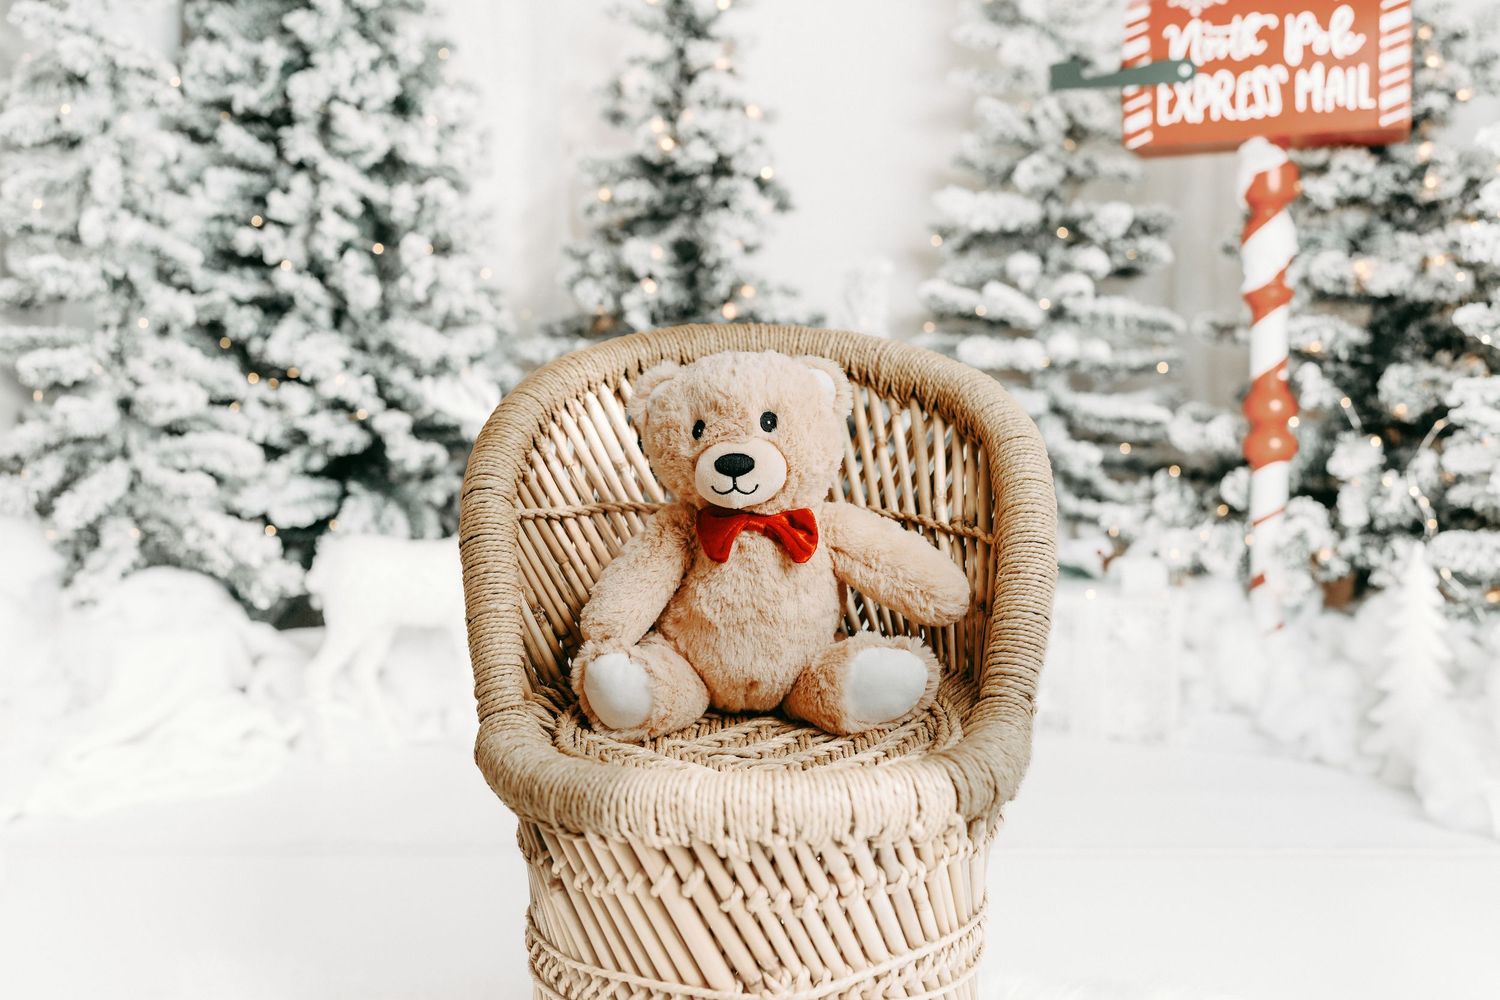
This lovely neutral-toned wicker chair is perfect for single-child portraits. It will be placed on an irregularly shaped white fur rug, adding an extra cozy layer. Alternatively, a single child can pose on the sled for a different look.
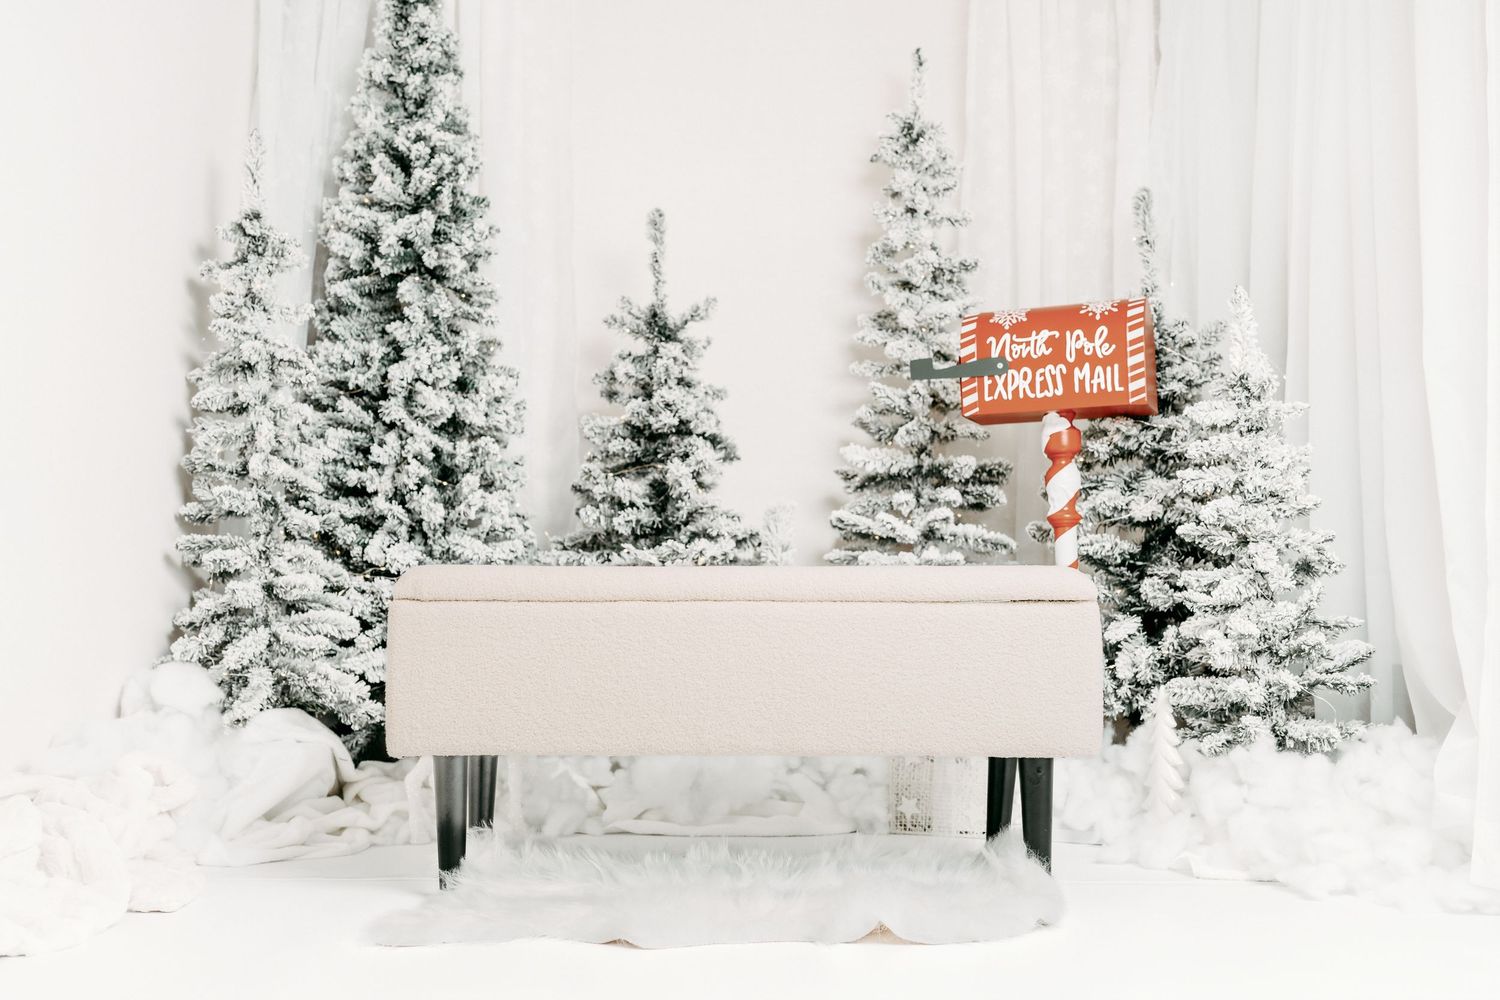
Family Posing Bench
Families can pose seated on a classic cream-colored lamb wool bench with a layered fur rug underneath or opt to sit together on the ground with a cozy fleece blanket available in white or green plaid.
02.
Prepare Yourself
RELAX
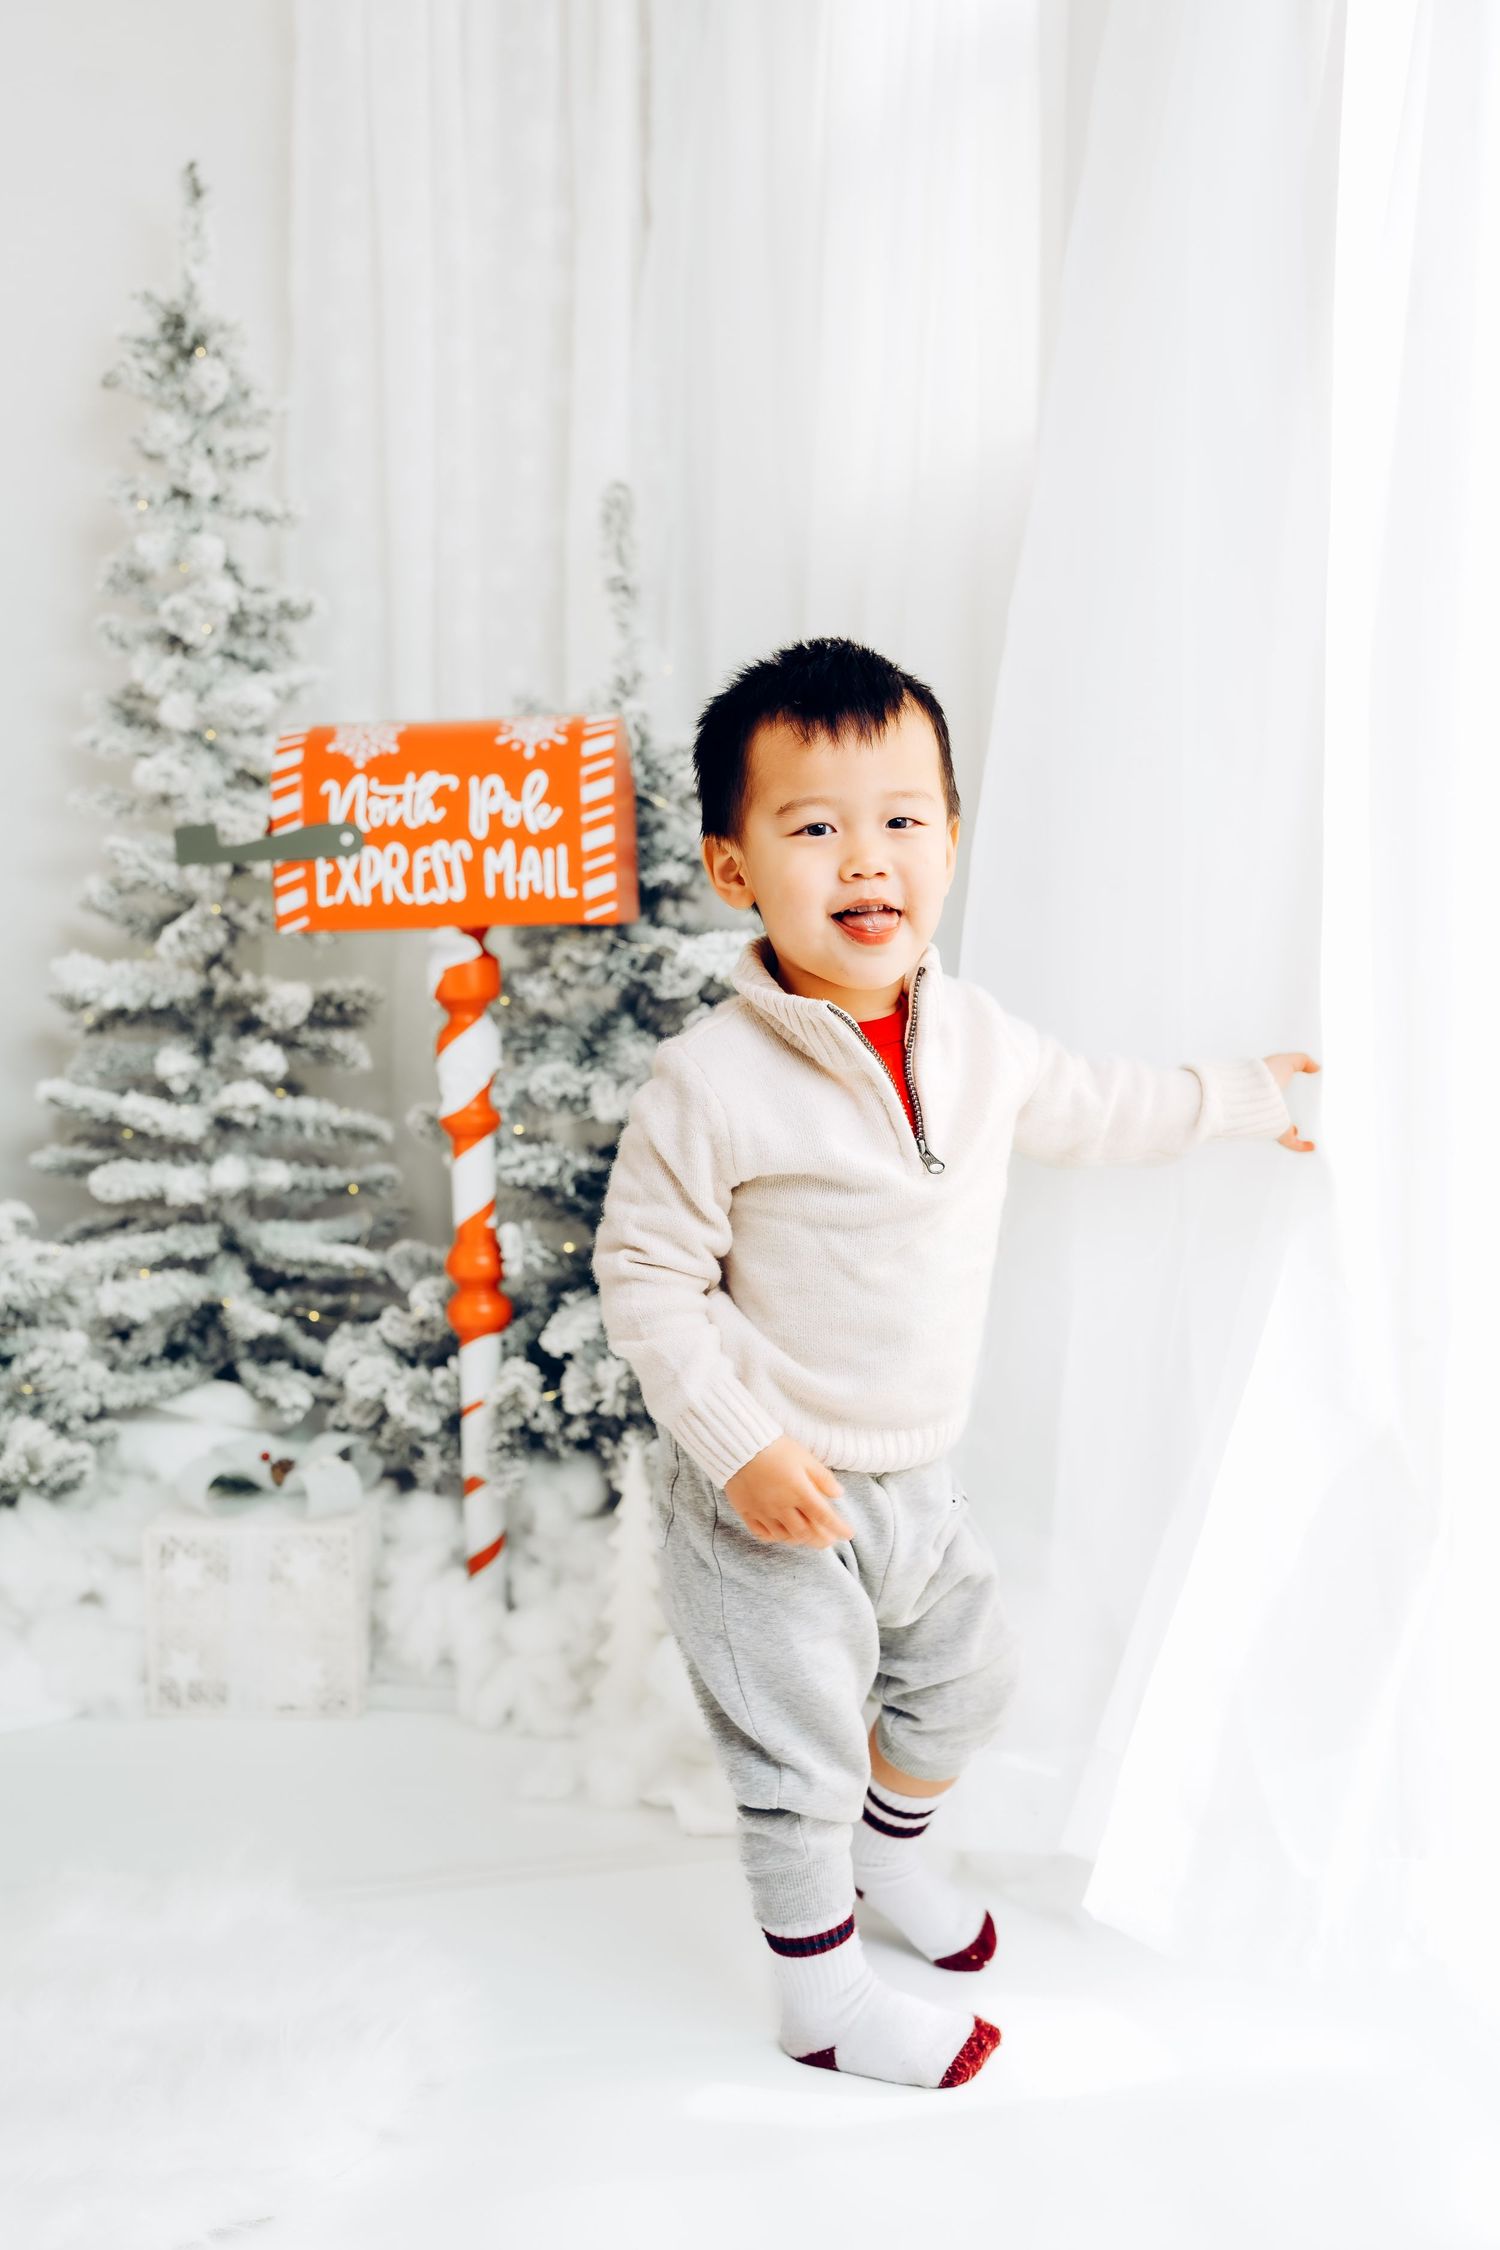
Leading up to your session and on the day of, try not to stress. Kids can feel it, and they will feed off your anxiety. Let your kids know that a friend is coming over, with her camera, and that I’m going to be photographing you while we hang out and play.
Please don’t schedule any other appointments right after your session in case we go over time, and please don’t schedule any vaccines in the days prior to your session.
FEED EVERYONE WELL
Make sure to feed everyone before your session. Hungry and tired kids can make for grumpy kids. If you have babies or small children make sure they have had a nap. If you have older kids, try and make sure their day isn’t super packed with activities. You want everyone to feel their best.
TOUCH UP SUPPLIES
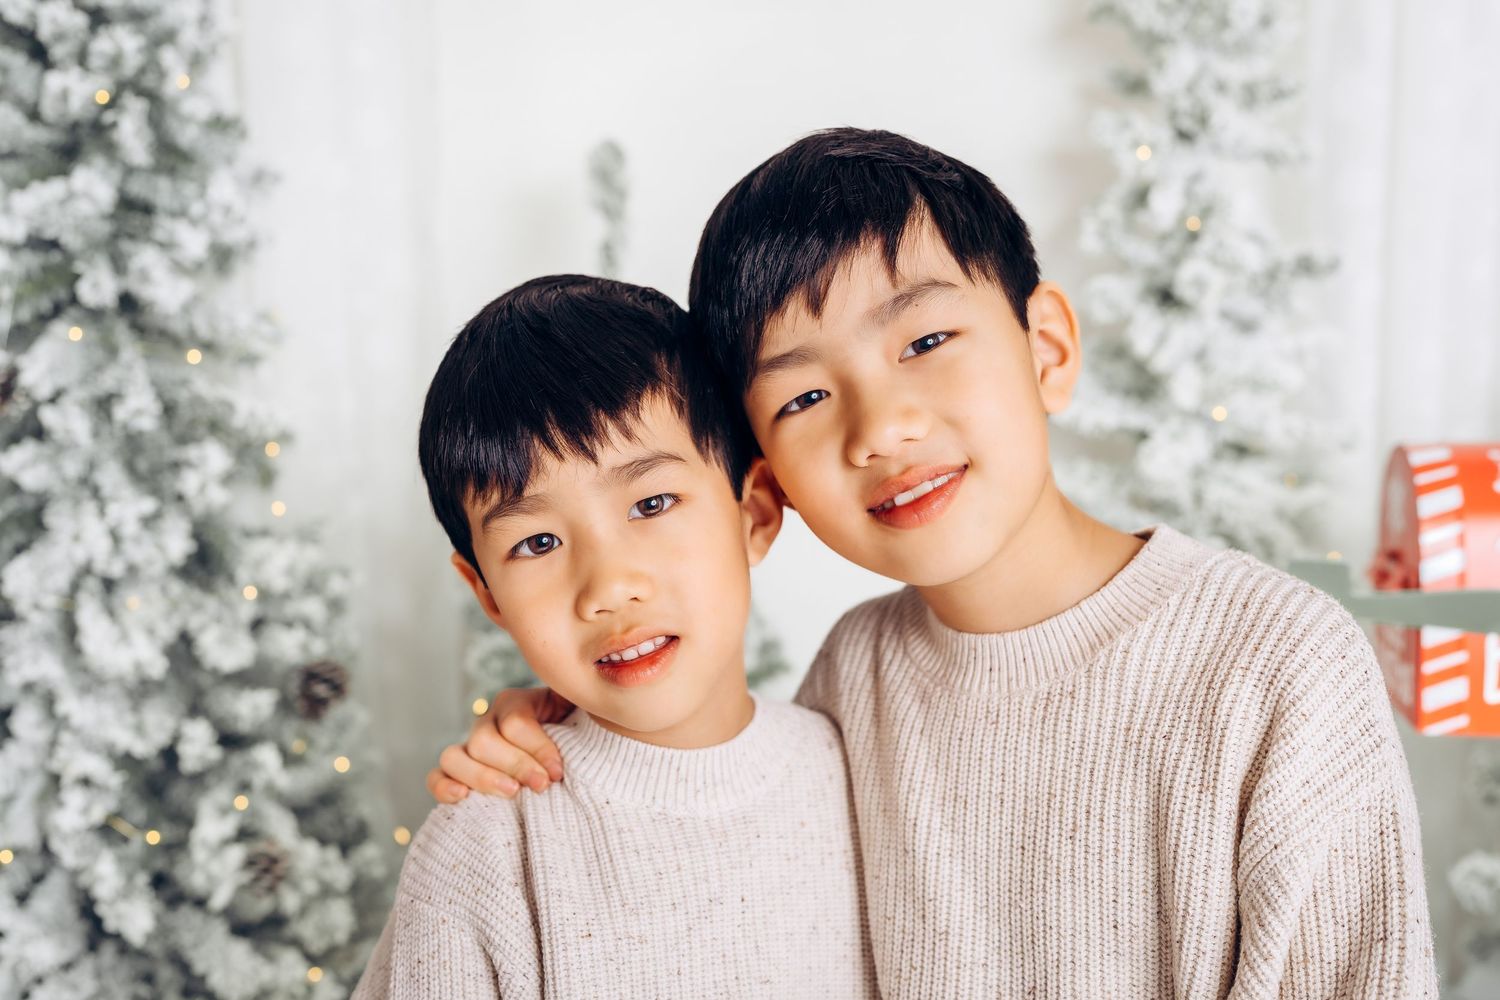
I always suggest to bring a brush and extra hair ties. Bring extra powder and lipstick if you think you may need a touch up.
EXTRA LAYERS & CLOTHING
Accidents can happen, tumbles into mud puddles, spit ups and other spills can turn a photo ready outfit into a bit of a disaster. It’s always a good idea to have extra clothes for your smaller children and babies.
You might want to bring an extra outfit for yourself and your husband/wife just in case. You can even use these clothes for a second “look” if you’d like a variety of looks.
BRING A TOY, SOOTHER & SNACKS
It’s always a great idea to bring your kid/baby’s favorite toy to make them look at the camera. Have a pacifer/soother on hand in case we need it. Bring some snacks that aren’t messy or sticky such as: goldfish crackers, plain biscuits.
03.
What To Wear


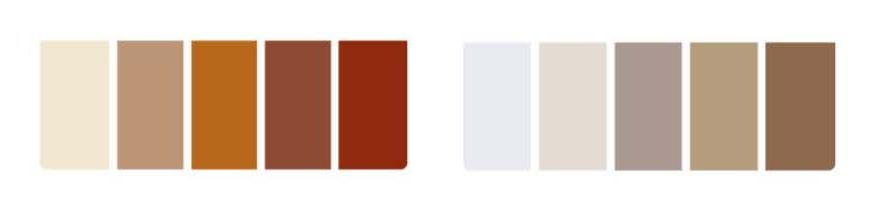
COLOR PALETTE
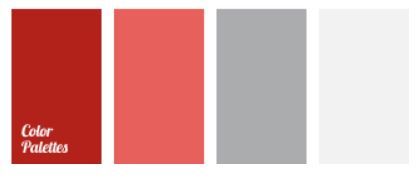
For timeless images, stick to a neutral, earth-toned color pallette and make it pop by adding in some deep or light versions of primary colors.
PROPER FIT
Choose clothing that fits well, especially for kids. Avoid outfits that are too large to prevent a baggy look in photos.
SIMPLE PATTERNS & NO LOGOS
Limit busy patterns, large logos, and cartoon characters on clothing. If you want to incorporate checkered shirts, let just one person wear it to keep things visually balanced. Holiday-themed patterns are great, but I suggest keeping them to accents like collars, sleeves, or pants.
EARTH TONE
White
Ivory
Cream
Beige
Caramel
Khaki
Brown
Grey
COLORPOPS
Rust
Burgundy
Red
Khaki
Dark Brown
Olive Green
Dark Green
Navy
Blue Maroon
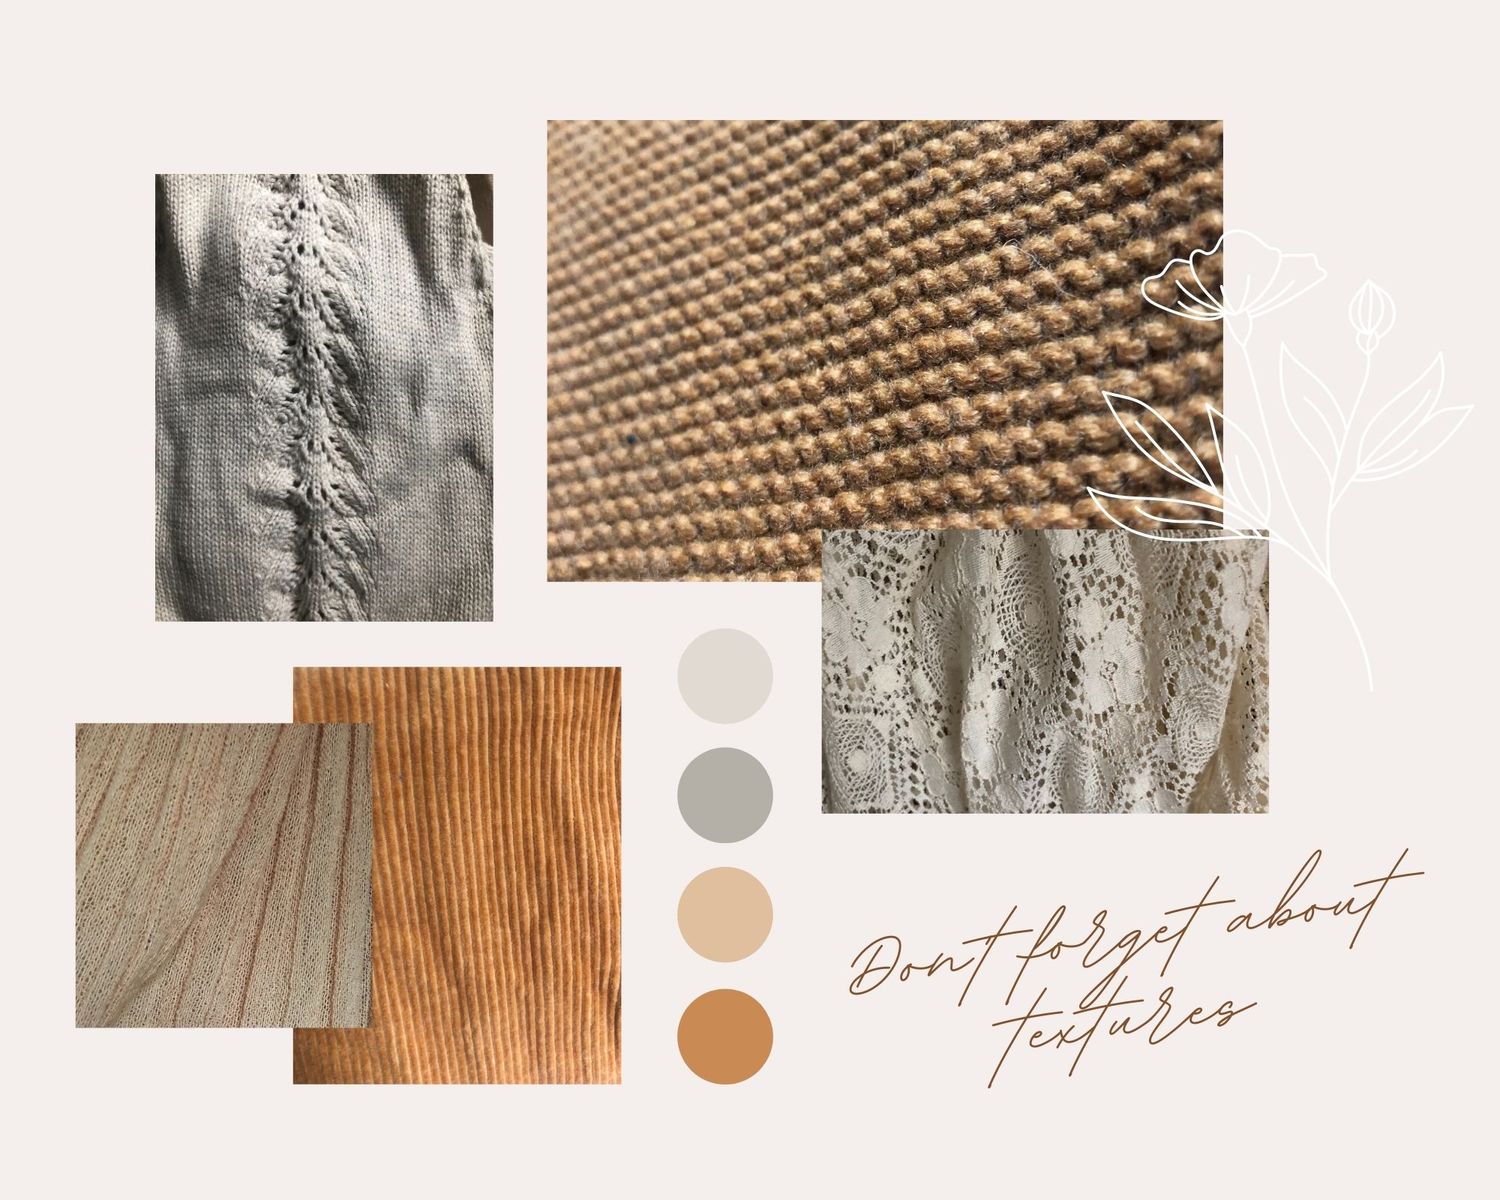
LAYERS & TEXTURES
Layers and textures add so much depth and beauty to your images. Use accessories to add personality to your images and really make your outfits unique. A knit sweater over your dress, a lace dress, cream sweater over a shirt for boys. Layers will enhance your outfits and images.
SIMPLICITY IS THE KEY
I always suggest coordinating your outfits instead of matching entirely. You can mix solids with pattern for example but try and stick to similar colour families. Think earth tones, jewel tones, pastels.
It’s also good to think about what you plan to do with your images. Will you be displaying them on a wall in your house? Perhaps then you’d like to compliment the colour palette in your home.
TEXTURES
Knit
Ruffles
Lace
Fringe
Linen
Crochet
Velvet
Cotton
Corduroy
Chambray
Gauzy
Crepe fabrics
Waffle
WHAT TO AVOID
Avoid modern PJ with patterns or logos;
Fluorescent colors clothing;
Avoid too much plaid;
Wearing all black;
(Black on the bottom is ok)
04.
At Your Session
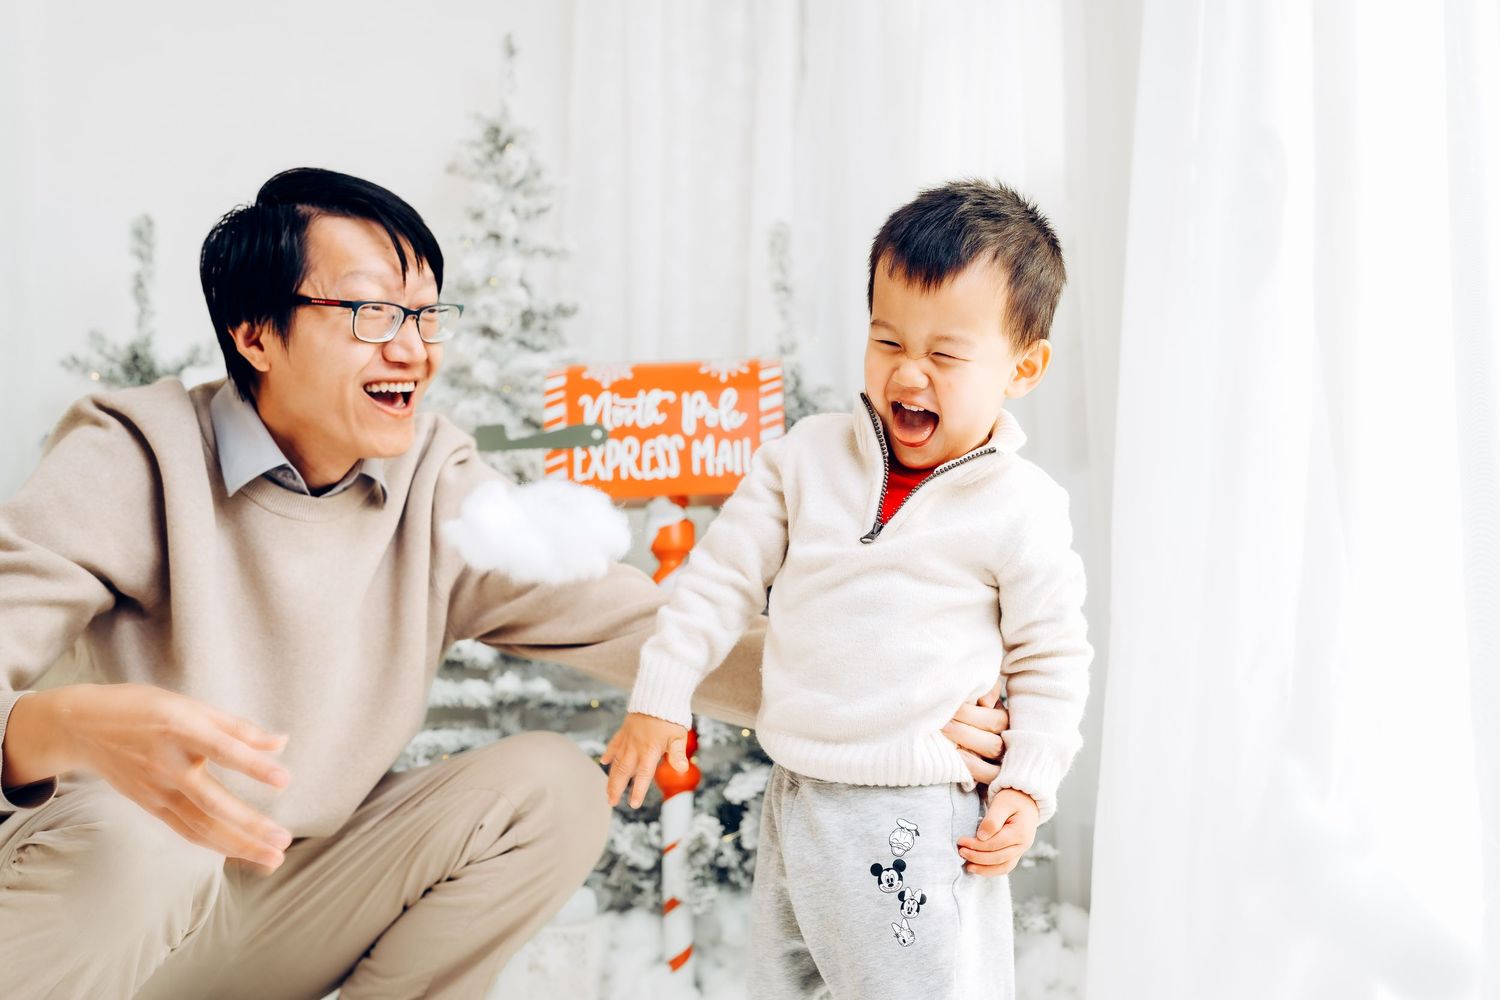
DON’T JUST SMILE AT THE CAMERA
I will give you guidance on where to place yourselves so the light is the best. Your job is to have fun and enjoy each other. Don’t stress if the kids are getting grumpy or aren’t listening. The more relaxed the parents are, the more relaxed the children will be.
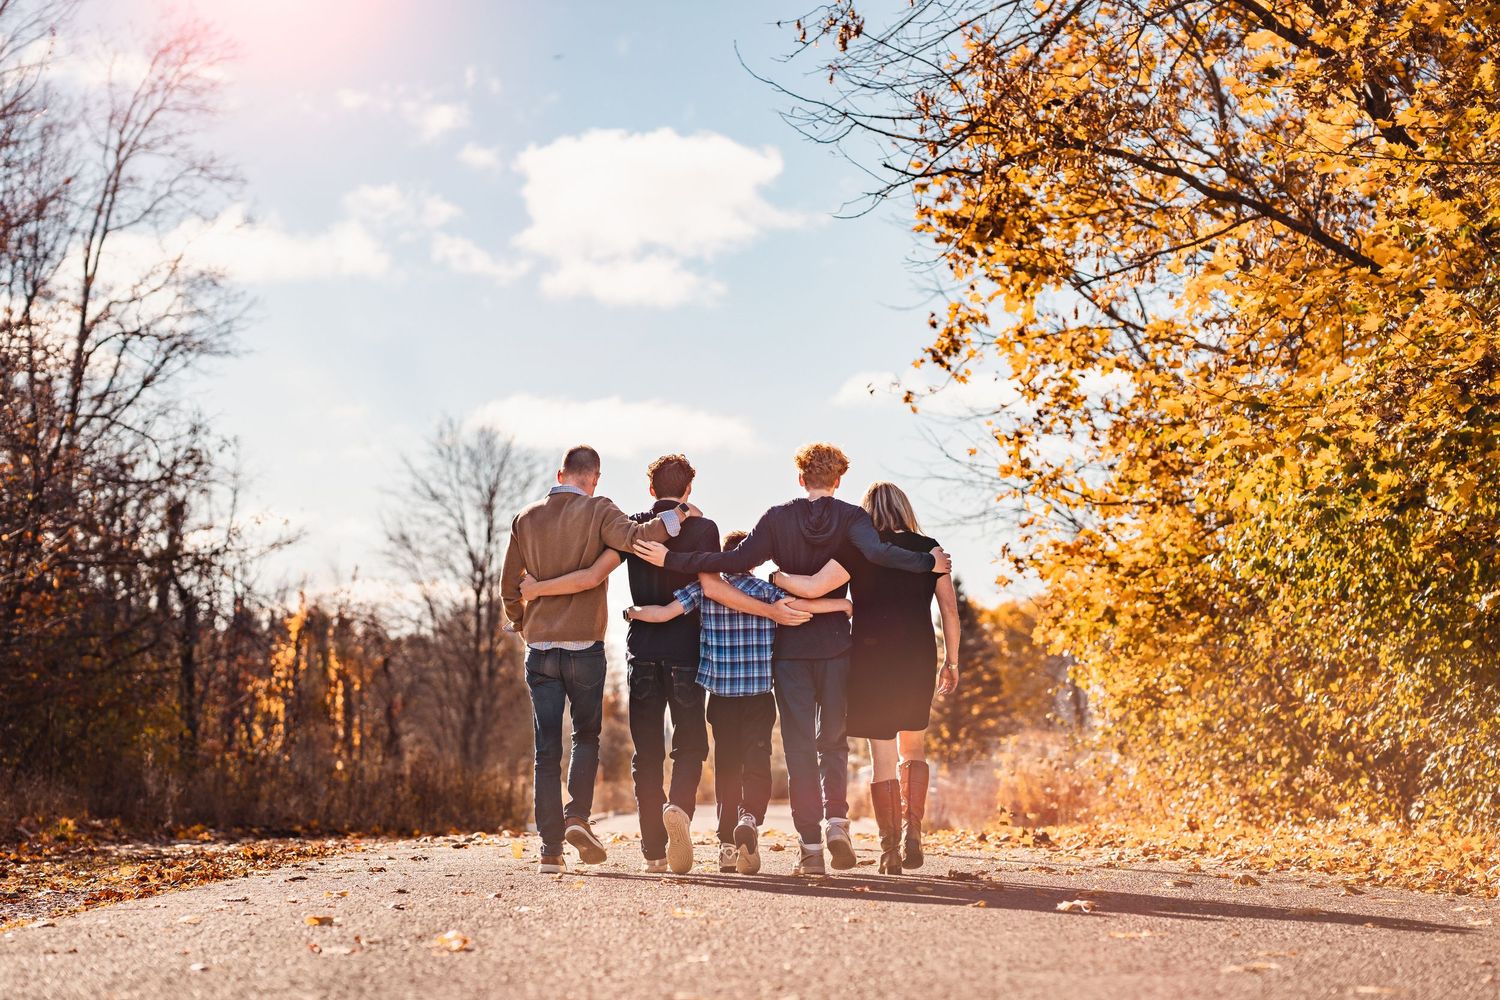
For sure we will try to get a few images of everyone looking happy at the camera, but I will also be guiding you to interact with each other so that the magic can really be captured!
There will also be complimentary kid sled, Christmas hats and hairbands, blankets, artificial ice cream and cupcake props available. Be playful with your kids, tickle them, give lots of hugs, laugh! I love capturing these moments.
05.
After Your Session
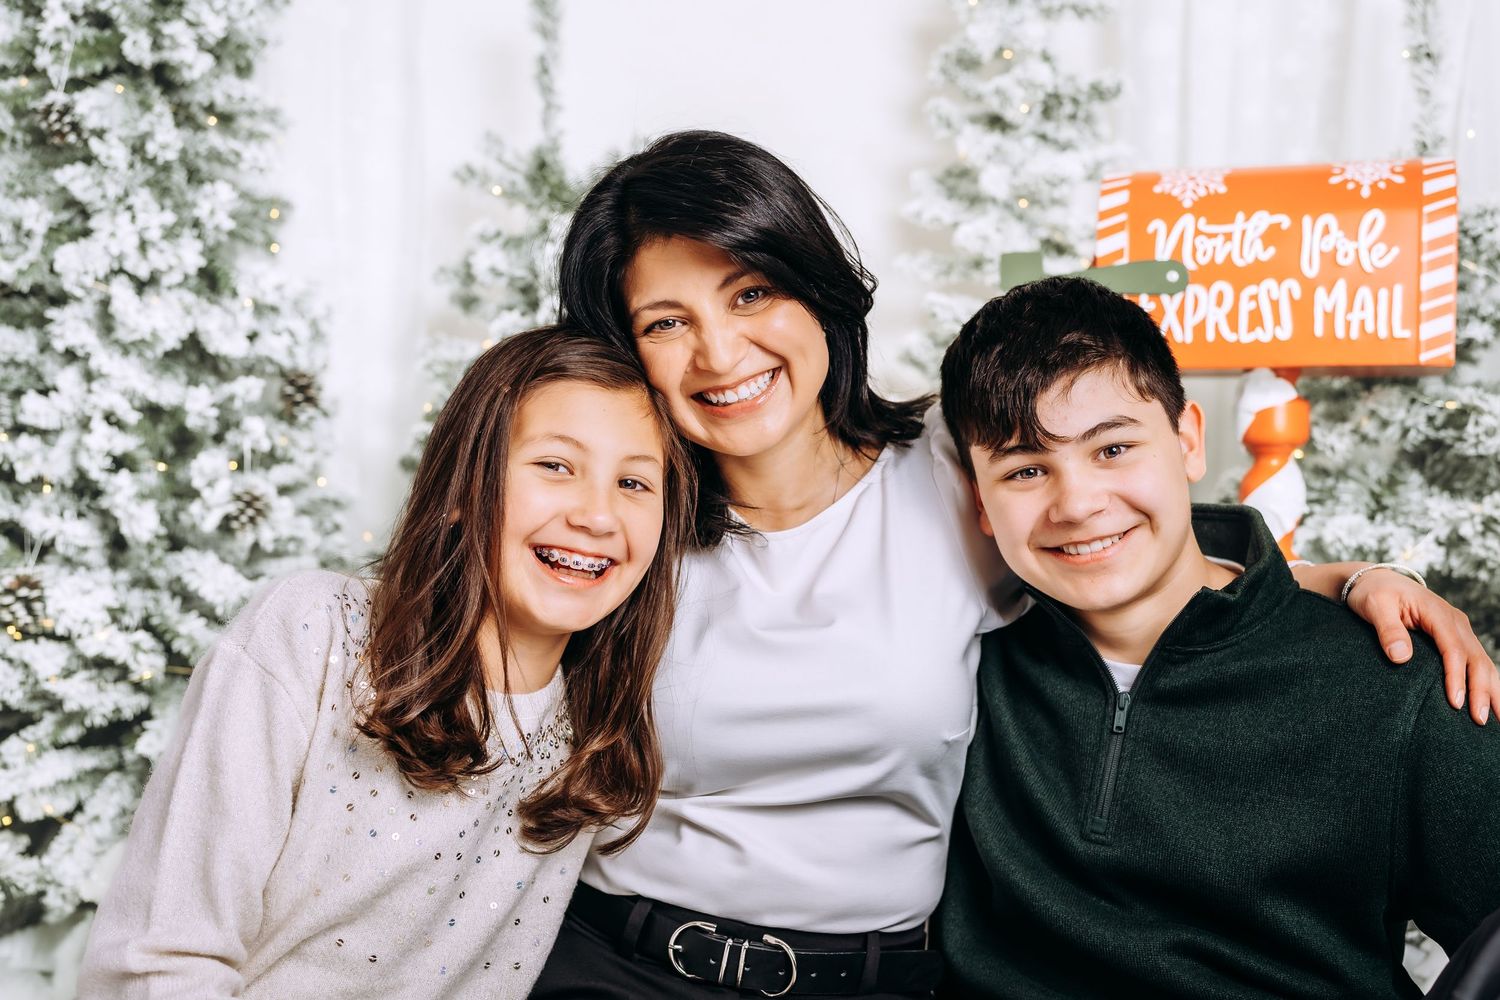
How long does it take to receive the final edited photos?
I typically deliver your proof gallery within 1 to 1.5 weeks. During peak season, it may take up to 2 weeks for the initial proof edits.
After you receive it you will go in and pick your favorite photos for me to fully edit. I do ask that clients take no longer than a week to pick so I can have the edits back to you as soon as possible.
If possible I always try to post a sneak peak within a week on social media. Please follow along at @anngephotography to see them!
Once the favorites have been chose by you I require another few days to fully edit them.
What if we end up wanting to buy more than 6 photos?
I do offer the option of purchasing additional images which I will explain once you receive your proofing gallery.
How do I store my photos?
Make a copy (or several copies) of your images for storage in a different location than your originals.
Keep a digital copy of your images online (iCloud, Dropbox, Google Drive, Amazon Pictures, etc.)
Make a new copy of your images every few years. Software and hardware evolve quickly and can malfunction, you want to make sure you always have a safe copy of your images.
Store your USB/Hard drives in a safe place. Keep one copy outside your home.
Please print your photos!
Please PRINT your images! Digital Files will never replace beautifully printed portraits in your hands. Your kids will thank you.
It is possible that your prints do not match exactly with what you see on your computer screen due to the differences in monitor calibration.
If you need help designing an album, I am happy to help create beautiful heirlooms for your family.